
What I Learned From the Doctor Who Served Two Presidents
Every year Nextiva, a progressive cloud-communication company located in Phoenix, puts on the power packed NextCon show.
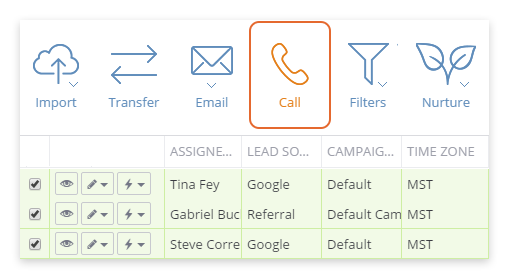
ClickPoint offers advanced communication solutions for calling more leads in less time – import and call lead lists, utilize pull queues, set up preview dialing for call centers, send and receive text SMS, and easily click-to-dial on new leads.
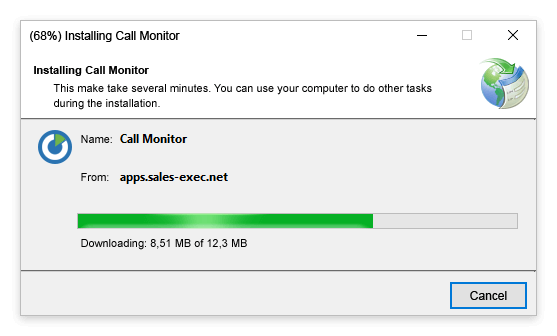
The ClickPoint Call Monitor is a tray application, which is integrated with Nextiva phone solutions. You must have a Nextiva account to use the ClickPoint Call Monitor.
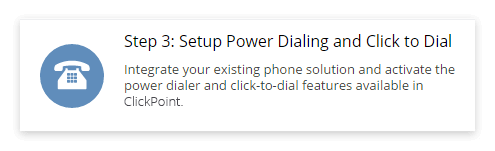
Setting up Nextiva to work with ClickPoint and the ClickPoint Call Monitor is quite simple. Setup is completed in a couple steps:
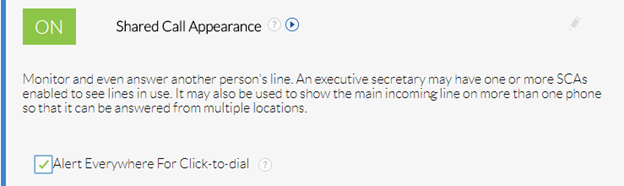
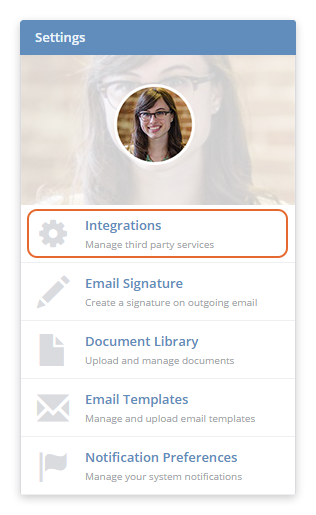
To use the Call Monitor, you must also have Integrations enabled, to view the entire How to Article on Integrations click here for Admin and for User click here.
Note: For those who currently use the ClickPoint Call Monitor, you will need to uninstall the version 1.X.X.XX, unless it is the newest version of 2.X.X.XX. If you have never installed the ClickPoint Call Monitor application, skip ‘How To Uninstall’.
Go to Programs and Features or Apps and Features inside the Windows Operation System.
Select ClickPoint Call Monitor and Uninstall.
Note: The new version, 2.X.X.XX, will automatically update on its’ own to any new release hereafter, this will occur when starting the application after the initial install.
Please note that each individual user will need to enable the Nextiva integration in ClickPoint, and install the ClickPoint Call Monitor to their computer.
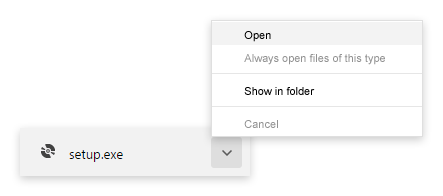
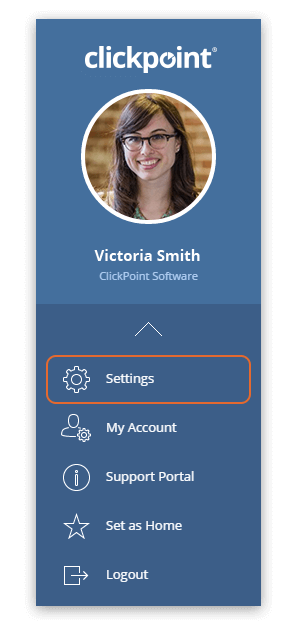
In ClickPoint, navigate to More > My Account. On the My Account page, click Integrations, then scroll down to click the View button next to the Nextiva Integration. In the Reference box to the right, click Download the ClickPoint Call Monitor (Slow Ring).
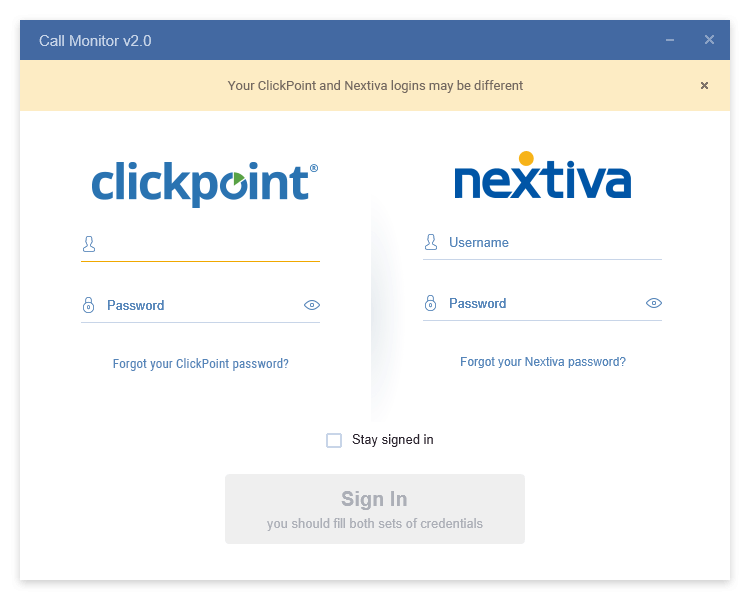
Note: User Credentials are required for both ClickPoint and Nextiva to login successfully, User Credentials are typically not the same for ClickPoint and Nextiva.
A step that is not required, but is highly recommended, is using the feature Stay Signed In. Click the box by Stay Signed In to Enable this feature.
Once logged in – go to Call Monitor in the desktop tray, this is located on the bottom right menu bar on your desktop. Right Click on the Application.
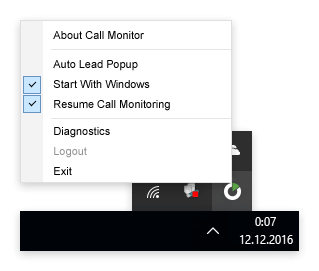
Enable Auto Lead Popup, only if the Auto Screen Pop feature for inbound calls is desired
Note: If Auto Lead Popup is enabled, this will prompt an option to Open the Lead in a new Browser tab. The Start With Windows feature is enabled by default.
As Admin:

As User:

Click to Dial and Power Dialing
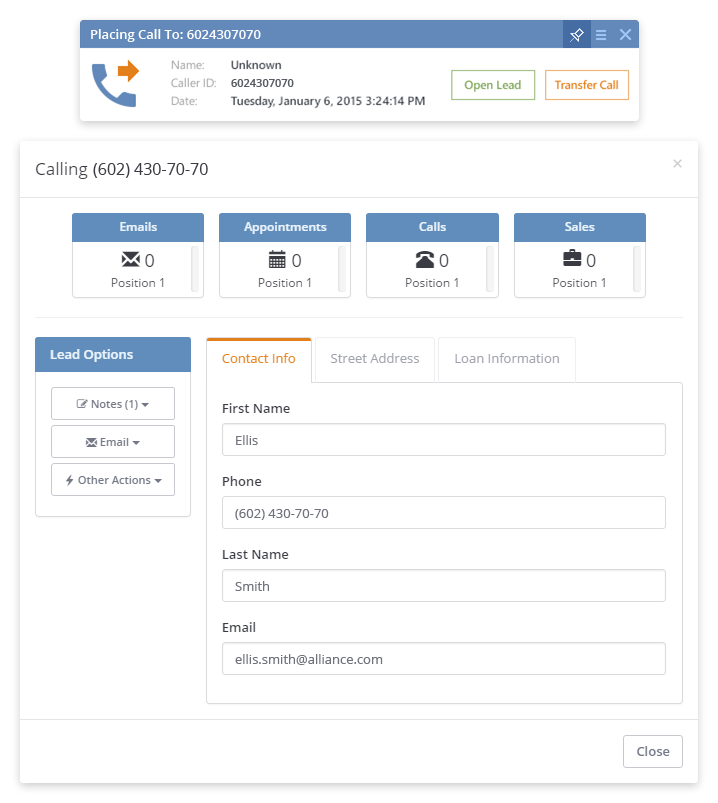
Note: If multiple Leads are selected while placing calls to the Leads, simply select Call Next Lead to power dial through the group of multiple leads you selected to call.
The Call Monitor does have a Screen Pop, this is a feature mentioned in the steps of How To Install the Call Monitor.
If the inbound phone number is attached to an existing Lead within ClickPoint, a Screen Pop will display.
Note: A menu for additional options will display, click the Option button and select Transfer Call, Send to Voicemail or Ignore Call, whichever is appropriate for the Call.
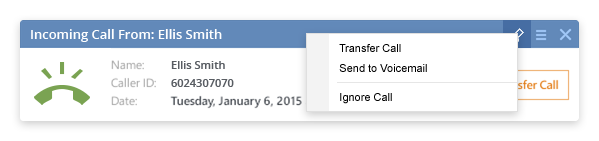 Incoming call options
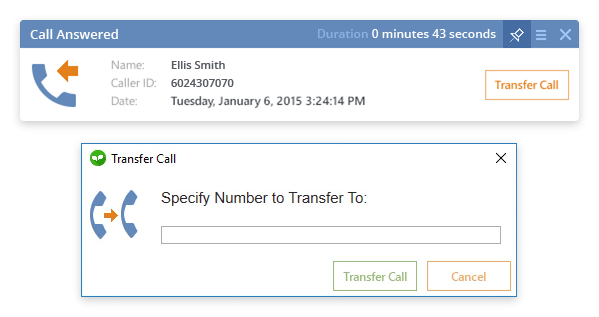 Transferring a Call
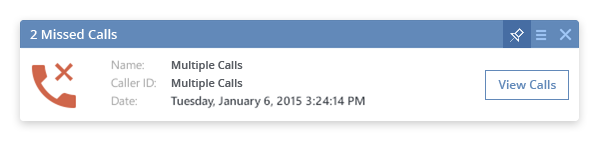 Missed Calls
Note: If ever receiving an error, read if the error is a Nextiva error or ClickPoint error. If Nextiva, please contact Nextiva directly, however, if the error is from ClickPoint please reach out via Help and select Live Support to chat with Support so we may troubleshoot for you.
This blog article was contributed by ClickPoint Support Team.

We’ll send you practical tips and ideas that we use ourselves and show you how to apply them to your sales and marketing workflow