
How to Create and Manage Your Sales Workflow in ClickPoint
See how ClickPoint, a sales engagement and lead management software, helps salespeople easily manage their sales process and workflow.
Pull Distribution Strategy is a customizable Lead distribution with the ability to set Criteria (rules) for Users to Pull Leads from a Pull Screen.
Do you know which distribution strategies like Push, Pull, SharkTank, Round Robin, or Shotgun work best for your team?
Let’s talk about lead routing options, in partucular Pull Distribution, and how in can be developed and used with ClickPoint.
Pull Distribution will optimize the volume of Leads a User can contact efficiently, making it possible to add appointments, notes and disposition the Lead to mark the accurate placement of the Lead in the Sales Workflow.
With Pull Distribution, create multiple specific Criteria, allowing division of certain Leads to Users, thus optimizing contact on Leads. Work Leads from a Pull screen dedicated to Click Call Close; Click the Lead, Call the Lead and Close the Lead!
Once you’re logged in to ClickPoint, go to:
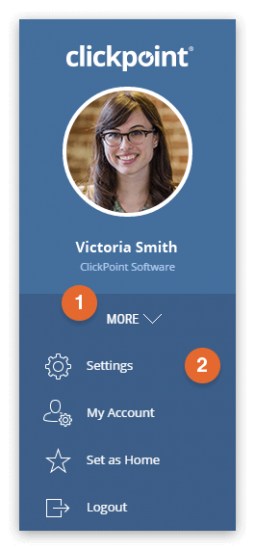 Image 1.1 More Settings
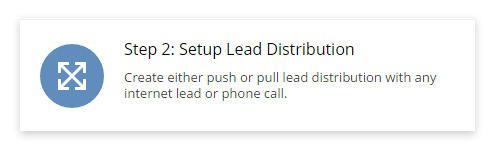 Image 1.2 Setup Lead Distribution
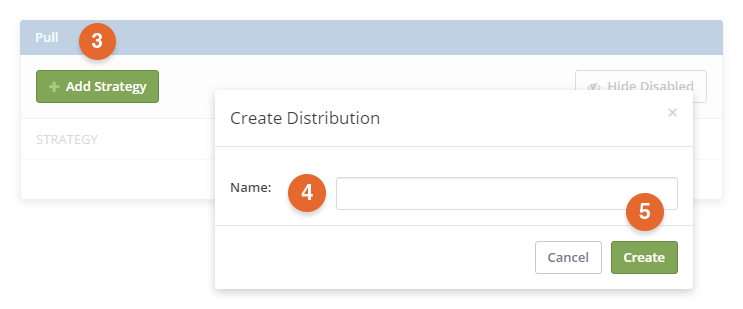 Image 1.3 Add Strategy
Note: All areas with the “Save” button do require the button to be clicked in order to enable the ‘save’ of newly added or edited information.
Note: Distribution will remain Disabled until marked as Enabled by clicking the Disabled button; this will now Enable the Distribution.
Settings – Add or change the name of the Distribution, click Save when complete
Pull Distribution Type – Choose where to distribute Leads from; Parent, Corporate or even certain Branches or a Specific Account. This will tell the Distribution what location to Pull the leads from.
This is Lead priority, what’s the most important type of Lead and how should it be pulled? Your business requirements or business practices come in to play heavily here, this allows the choice of what Leads are Pulled First.
Pull Count – Lowest First OR Highest First – should Users pull Leads with the lowest Pull Count first or Leads with the Highest Pull Count first?
Date Added – Newest First / Oldest First – should Users pull Leads that are newest or oldest in ClickPoint?
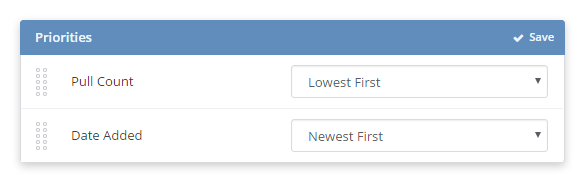 Image 1.4 Priorities
There are 3 pieces of Criteria you are required to edit and/or delete, in addition you will have the ability to add more Criteria.
DoNotPhone Equals ‘False’ – this will remain as criteria, as this protects your account from calling Leads which have marked themselves as Do Not Phone, this cannot be removed.
MaxAge Less than ’10’ – This dictates that maximum number of days a lead has aged to be eligible for pull. Example: As a User, I only want to talk to leads that have been added within 10 days.
System Status In ‘New Lead, Waiting and Contacted’ – Three System Status are used for Pull, if a Lead is in one of the following System Statues they are Pullable Leads by default; New, Waiting and Contacted. Edit this to change the System Status default by clicking on the Edit button (pencil icon).
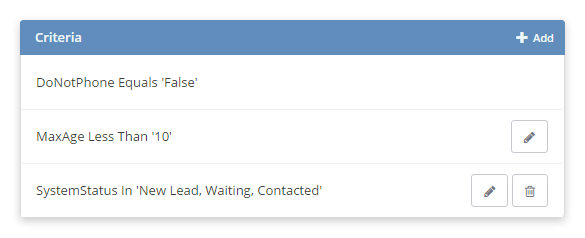 Image 1.5 Criteria
Note: To allow unlimited, leave the Max limit empty (instead of setting numbered limits).
Field – Static Fields (fields that cannot be changed or edited, ClickPoint fields) or Lead Fields (these are the custom Lead fields specific to your Lead data)
Operator – In or Not In / Contains / Equals, this will determine what operation you are including with the criteria you are setting.
Value – select the value of what your criteria is, this is dependent on what Fields and Operators you are selecting.
Click OK to Save.
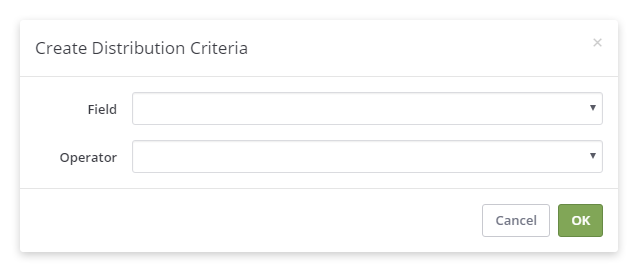 Image 1.6 Add Criteria
Specify hours for every day of the week in each State, if State hours are not set or not added, All States will be callable at any time. To prevent Users from calling a Lead outside of legal State Calling hours you must set State Hours. If certain Users have permission (licensed in certain states and not others) to call Leads in certain States, Global Criteria can be used once the Recipient (User) has been added to the Distribution (see below in Recipients).
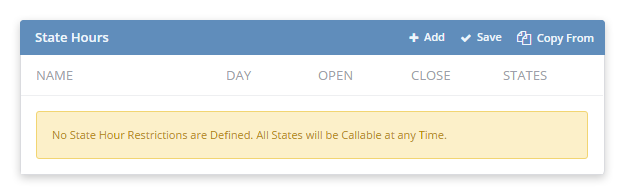 Image 1.7 State Hours
An additional tool is the ability to set up different Shifts for the Distribution. This is beneficial for those with varying Shifts or in a Call Center type environment. For example, if you have a team of Users that work Leads for a morning shift and other Users that work Leads for an afternoon shift you have the ability to separate these. This is not a necessary step for configuring Pull Distribution, however this is a great tool to use for specifics on Shift hours if needed.
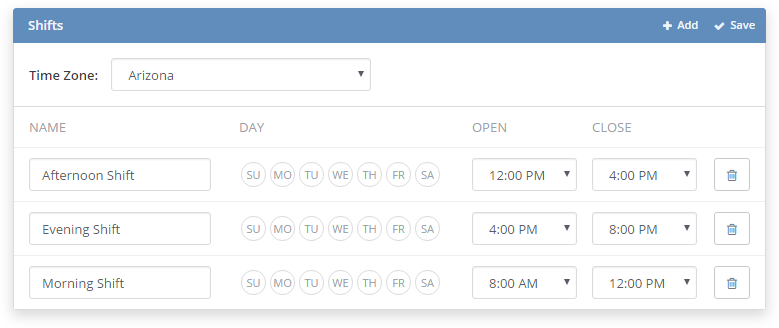
Image 1.8 Shifts
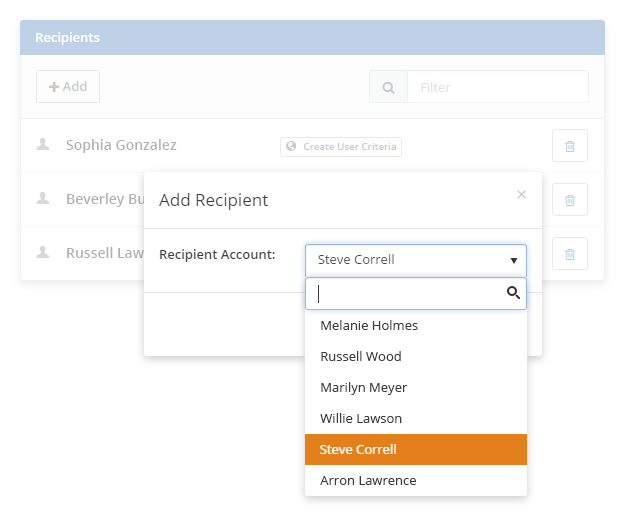
Image 1.9 Recipients
Once complete with creating or editing/changing the Pull Distribution, you must always choose to Purge and Rebuild Queue or Rebuild Queue.
Purge and Rebuild Queue – Selecting this option will clear the queue of Leads, rebuild the queue with Leads and restrict leads for Pull during this process. Once the Leads have been cleared and new Leads are added to the queue, you can Pull; however, the amount of Leads available for Pull while rebuilding can be minimal, especially dependent on the number of Leads.
Rebuild Queue – Selecting this option will rebuild the queue and allow Leads for Pull during the Rebuild. Example: Changing or adding Criteria to Pull and allowing Leads with the prior Criteria for Pull, while the Leads with the new Criteria are being added to the queue
After selecting Purge and Rebuild or Rebuild Queue, a progress bar will display, should you have a large number of Leads, refreshing the page is recommended, especially if watching the progress status
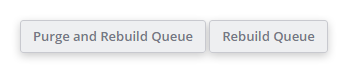 Image 1.10 Rebuild Queue Buttons

We’ll send you practical tips and ideas that we use ourselves and show you how to apply them to your sales and marketing workflow